
Yes, carry a compass along with your phone. The American Hiking Society, a national nonprofit for hikers and trails, says phones and GPS units are handy but aren’t always reliable in the backcountry.
It suggests a paper map and compass as a backup, and knowing how to use them.
Start with four skills: the parts of the compass, taking a bearing, following it, and orienting a map.
You don’t need to be an expert. A park field has enough space to practice all four.
Why carry both a compass and a phone
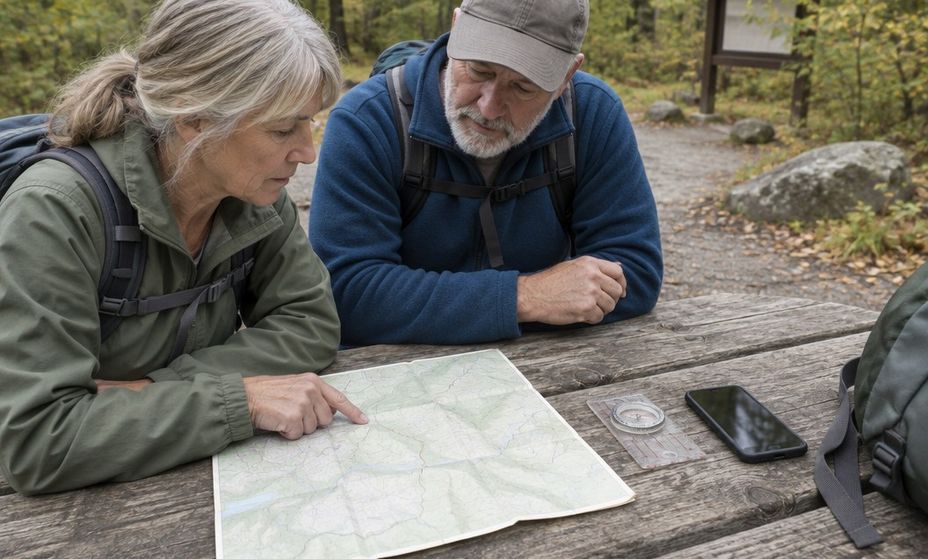
The National Park Service, the federal agency that runs America’s national parks, lists navigation among its Ten Essentials as map, compass, and GPS system.
It says to know how to use a topographical map, compass or GPS unit before going out.
A phone can carry the map. The Park Service says you can use the NPS app or download a map onto your phone, and it adds a reminder to pack an extra battery.
The Park Service also says to bring a physical map as a backup. The American Hiking Society likewise suggests a paper map and compass as a backup.
Carry both kinds of navigation:
- A paper map and a compass
- A phone with a downloaded map
- An extra battery for the phone
Keep the two apart, though.
Brunton, a US compass maker, warns that cell phones can affect the magnetic needle. Hold the phone away from the compass when you read it.
Both belong in the pack with the rest of your day pack essentials for short hikes.
The Park Service also says to tell someone where you’re going and when to expect you back.
Hikers going alone can find more in these solo hiking safety tips.
The parts of a baseplate compass
A baseplate compass is the kind with a flat, clear base and a ruler edge. Brunton’s guide names these parts, among others:
- Baseplate: the clear plastic that houses the compass, with straight edges and scales or rulers for use with maps
- Direction of travel arrow: you point it the way you want to go, or at the object you are heading toward
- Rotating bezel: the ring marked with directions, with north at 0
- Magnetic needle: it always points toward magnetic north
- Orienting arrow: the red end of the needle goes inside it, which Brunton sums up as “put Red in the Shed”
- Index line: it shows where you take the reading from
Silva, a Swedish compass maker, calls the orienting arrow the north arrow, so you may see either name.
The needle points toward magnetic north, not true north.
The rest of the compass is there so you can aim it and line it up with a map.
Taking a bearing from a map
A bearing is the direction you need to walk, set on the compass. Silva’s 1-2-3 System takes one from a map in three steps:
- Lay the compass on the map. The edge of the ruler must form a straight line between your current position and where you want to be. The direction arrow must point toward your destination.
- Turn the compass housing. The red part of the orienting arrow must be parallel to the map’s meridians (the north-south lines) and point north on the map.
- Lift the compass from the map and hold it horizontally. Turn your body and the compass until the red end of the needle lines up with the red orienting arrow.
Now the direction arrow points to your destination.
Declination: why the needle is off true north
At most places, the compass doesn’t point exactly toward geographic north. That is what the US Geological Survey (USGS), the federal science agency behind US topographic maps, says.
The gap is called declination. The National Oceanic and Atmospheric Administration (NOAA), the federal weather and ocean science agency, defines it as the angle between magnetic north and true north.
It changes with place and with time. Silva explains that the magnetic north pole is constantly moving, so declination also changes over time.
The collar (the margin) of a USGS topographic map shows the declination at the map’s center. It is the figure for the year the map was made, so an old map can carry an old figure.
If your compass has a declination adjustment, set it before you start, using the figure from your map or NOAA’s calculator.
Look up the declination for your own trailhead with NOAA’s online calculator before you go. The number differs from place to place, so no single figure fits every hike.
Following the bearing
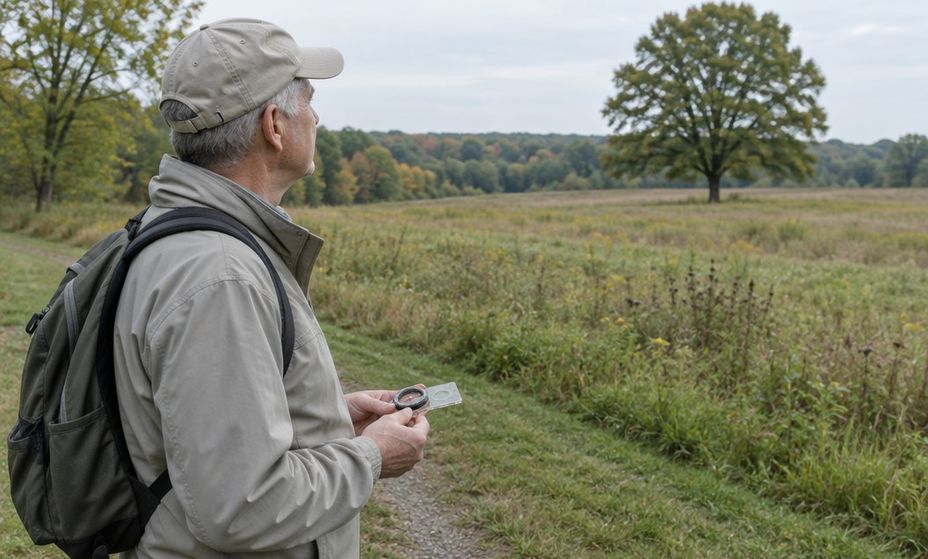
With the needle and the orienting arrow lined up, look along the direction arrow and pick a landmark on that line. Silva calls it an aiming mark.
Then start moving toward it.
Pick a landmark on that line and walk toward it.
Landmarks help on the map side too. Silva suggests keeping an eye on clear ones along your route, such as streams, lakes, hills, trails and roads.
Orienting a map
Silva calls orienting the map to north a simple way to use a map and compass together. You align the map’s meridians with the compass needle.
That makes the map match the terrain around you.
From there, check your position against the landmarks you can see. Trail markers and signs along the way add another check.
A practice drill in a park
Try this on an open field with a map of the park, before you need the skill on a trail.
- If your compass has a declination adjustment, set it using the figure from your map or NOAA’s calculator.
- Pick a landmark on the field that is also marked on your map, and stand where you know your position.
- Lay the compass on the map. The ruler edge must form a straight line from your position to the landmark, with the direction arrow pointing toward it.
- Turn the housing until the red part of the orienting arrow is parallel to the map’s meridians and points north on the map.
- Lift the compass and hold it horizontally. Turn your body until the red end of the needle lines up with the red orienting arrow.
- Look along the direction arrow and pick an aiming mark on that line.
- Start walking toward the aiming mark.