Picking your first hiking trail requires some preliminary legwork before you hit the dirt. You’ll want to honestly assess whether you can comfortably walk for two to three hours without stopping.
Popular, well-maintained trails matter more than you might think, but here’s the catch: elevation gain changes everything about difficulty. We’ll show you why distance alone doesn’t tell the full story.
Honestly Gauge Your Fitness Before Picking a Trail
Before you lace up your hiking boots, you’ve got to honestly assess where you’re starting from fitness-wise.
Consider how often you move your body and whether you can walk comfortably for extended periods without getting winded.
Your hiking readiness depends on this honest fitness assessment.
Can you climb stairs without struggling? How far can you walk before fatigue sets in?
If you’re currently inactive, start with short, flat walks to build baseline endurance.
Previous hiking or walking experience gives you valuable insight into your terrain comfort.
Understanding your actual capabilities prevents injury and keeps hiking enjoyable.
Regular hiking builds cardiovascular health and strengthens your entire body, making the effort to assess your fitness now even more worthwhile.
Why Elevation Gain Beats Distance for Difficulty
When you’re comparing two trails, don’t get fooled by distance alone. A flat ten-mile hike demands far less from you than a steep three-mile climb.
Elevation gain, not mileage, determines your real hiking challenges. A 2,000-foot climb packed into one mile will exhaust you faster than six miles on flat terrain.
Elevation gain, not mileage, determines hiking difficulty. One steep mile exhausts faster than six flat ones.
Your legs, lungs, and focus take the biggest hit on steep ascents.
Beginners should stick to trails with minimal elevation gain, a few hundred feet maximum. This approach builds your fitness safely while keeping fatigue manageable.
You’ll actually enjoy hiking and return for more adventures.
Stick to Popular, Well-Kept Trails When Starting Out
Now that you’ve picked a manageable climb, focus on *where* you hike. Popular trails give you real advantages for trail safety and beginner tips.
Well-maintained paths have clear signs and defined routes, so you won’t get lost. More hikers around means help’s available if something goes wrong. You’ll find restrooms and picnic areas at established trailheads.
Check online reviews from experienced hikers; they’ll tell you exactly what to expect. These crowded routes aren’t boring; they’re smart choices that let you build confidence without unnecessary risks or complications slowing you down.
Calculate Drive Time and Parking Accessibility

Your drive time matters more than you might think when picking your first trail. Most Seattle-area hikes sit about 40 minutes away on I-90, while remote trails demand up to 4 hours.
Check forest road conditions beforehand; potholes add frustrating delays. Arrive early, especially weekends, to grab parking spots at popular trailheads.
Some areas require permits, so verify requirements before you go. Use navigation apps to estimate actual travel time and spot potential closures.
Strong trailhead accessibility means you’ll start your hike fresh, not exhausted from driving.
Pick Spring or Summer for Predictable Conditions
Because spring and summer bring stable weather patterns, you’ll avoid the surprise storms that can turn a beginner hike dangerous.
These seasons release genuine freedom on the trail without wrestling winter conditions.
Here’s what makes them ideal for starting out:
- Less crowded trails in spring before summer vacation kicks in
- Snow and ice melt, making terrain accessible for beginners
- Reliable water sources along most trails for proper hydration
- Peak wildflower blooms from late June through early August in the Cascades
Spring advantages include peaceful solitude, while summer highlights offer stunning natural scenery.
You’ll hike comfortably without specialized gear or constant weather worries.
Check Current Trail Conditions and Hazard Alerts
Even with perfect spring or summer weather, conditions change fast on the trail. You’ll want to check trail conditions and hazard alerts before you go.
The Washington Trails Association and local ranger stations provide current information about closures, flooding, or landslides.
Apps like AllTrails let you read recent reports from hikers who’ve been there. These user-generated updates show real obstacles you might face.
Weather forecasts matter too: storms pop up quickly in mountains.
Spend fifteen minutes researching before heading out. This simple step keeps you safe and guarantees you’re not wasting time on closed trails.
Use WTA and AllTrails to Compare and Review Trails
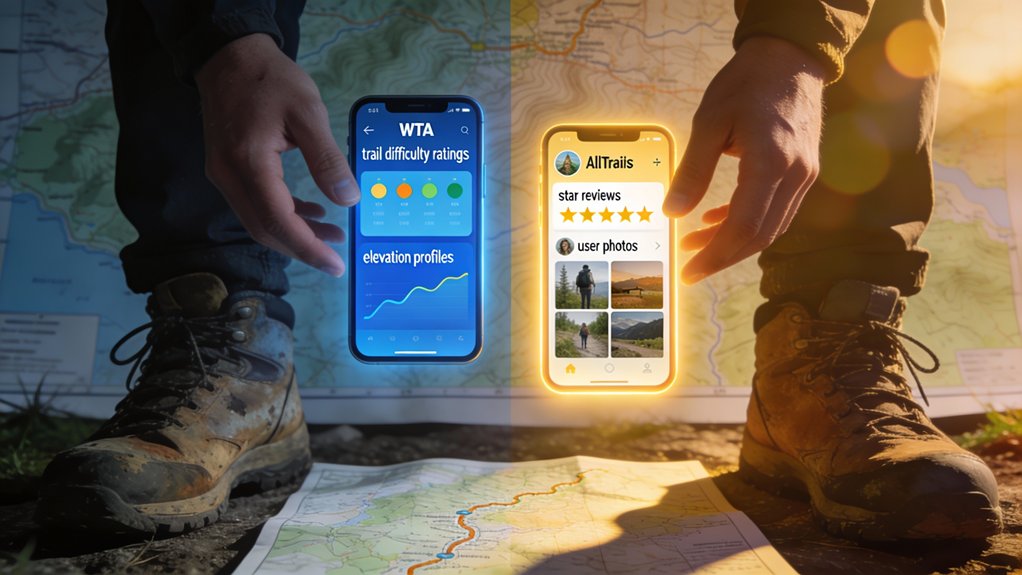
How do you know which trail is actually worth your time? You’ve got two solid tools that’ll show you what you’re getting into: WTA and AllTrails.
- Filter by trail features: distance, elevation gain, and difficulty ratings that match your ability.
- Read user experiences from hikers who’ve recently walked the path and documented conditions.
- Cross-reference both platforms to spot patterns in feedback and verify current trail status.
- Check community photos showing real trailhead access and actual terrain challenges.
WTA specializes in Washington state details with extensive maps. AllTrails covers trails nationwide.
Using both together gives you the complete picture before committing your energy. Remember that hiking with others enhances both safety and enjoyment on the trail.
Confirm Water Sources if You’re Planning a Full Day
Once you’ve picked your trail using WTA and AllTrails, the next step’s figuring out where you’ll get water.
You need to verify water source reliability before committing to a full day outdoors.
Lakes and rivers beat seasonal streams, they’re dependable. Mark these sources on your map so you can navigate confidently.
Test your filtration system beforehand at actual sources. For hydration planning, pack 1-2 liters per five miles.
Test your filtration system at actual water sources before heading out. Pack 1-2 liters per five miles for proper hydration planning.
Knowing where you’ll refill keeps you self-sufficient and reduces the weight you’re hauling all day. This prep work beats struggling later.
Take Your First Trail Test Run This Season
Now’s the time to pick an actual trail and get out there. You’ve done your homework on trail selection, so commit to a specific route this season.
Here’s your beginner tips action plan:
- Select a trail under 5 miles with minimal elevation gain
- Target a 2-3 hour round-trip timeframe for a comfortable pace
- Check current seasonal features like wildflower blooms or vista conditions
- Pack 1-2 liters of water and basic supplies before heading out
Don’t overthink it. Pick a well-reviewed beginner trail on AllTrails or WTA, grab your water bottle, and go experience what you’ve been planning.
You’re ready.