You don’t need expensive gear to start capturing nature on hikes. A decent smartphone works fine for landscapes, and you’ll improve faster by practicing regularly than by waiting for perfect equipment.
The real skill comes from understanding light, composition, and timing, especially during golden hour when everything looks better.
Practicing with whatever you have beats waiting for the right moment.
But there’s one technique that separates amateur shots from compelling ones.
Start With a Smartphone Camera for Landscape Hikes
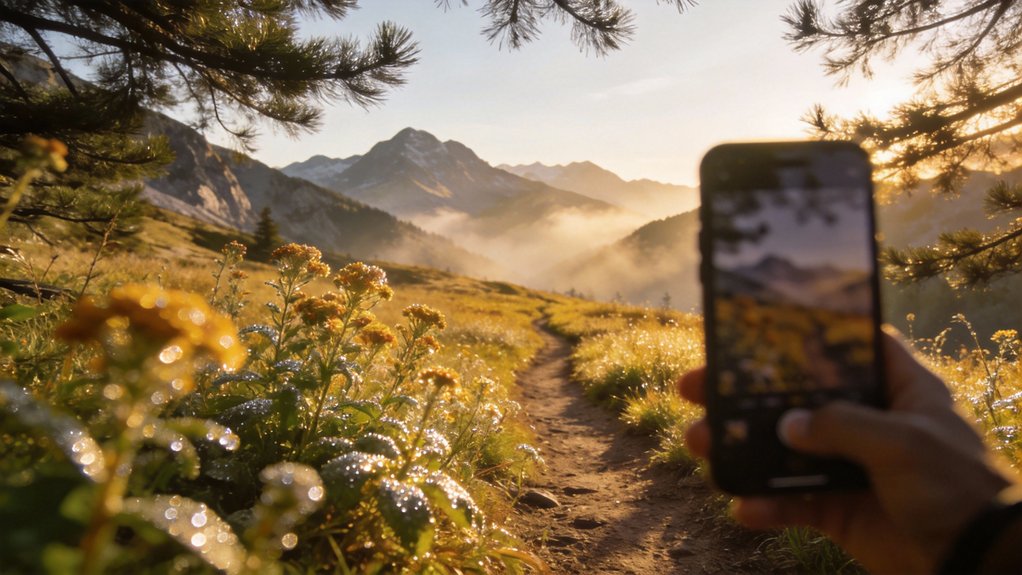
You’ve probably got a capable camera sitting in your pocket right now. Your smartphone can deliver good landscape photos without expensive gear.
Explore your camera settings and try HDR mode and exposure adjustments to sharpen your images. Most phones bury these in the camera app menu, but they’re worth finding.
Shoot during golden hour, shortly after sunrise or before sunset, when light transforms ordinary scenes.
A smartphone is enough to start.
Download a free editing app to adjust brightness, contrast, and saturation after the shoot. The editing step matters more than the camera does.
Scout Your Location and Plan Compositions Early
Before you hit the trail, do some homework on the location you’re planning to photograph. Use Google Earth and hiking blogs to scout potential spots.
Identify key features and visualize composition ideas before arriving. Check lighting conditions at different times of day so you know when golden hour hits and where shadows fall.
Create a short shot list mapping out specific angles and foreground elements, and arrive early to set up.
Knowing what you want to capture before you get there saves a lot of standing around.
Pack Lightweight Gear to Stay Mobile on Trails
When you’re hiking to reach a good shot, every pound in your backpack matters. If you’re moving past a smartphone, a mirrorless or compact bridge camera cuts weight compared to a traditional DSLR.
Look for a backpack with a dedicated camera compartment that protects your gear while keeping it reachable. A 24-70mm zoom and a 14-24mm wide-angle lens cover most situations without excess weight.
The two-lens kit covers most trail situations without slowing you down.
Bring 3-4 spare batteries and a couple of large-capacity SD cards instead of heavy backup equipment.
Skip the tripod on most hikes. Use natural stabilizers like rocks or tree branches for stability instead.
- Carry less and you’ll go further with less fatigue
- A lighter pack makes spontaneous detours easier
- You’ll enjoy the hike as much as the photography
Master the Rule of Thirds in Your Framing
Most cameras have a grid overlay feature that divides your frame into nine equal sections. You’ll find this in your phone’s camera app or in your camera’s display settings.
The rule of thirds positions key elements along those grid lines or at their intersections rather than dead center.
Most beginners put the horizon dead center.
That’s the first thing to change.
Place your horizon on the top or bottom line, not in the middle. Try placing a tree or mountain at an intersection point.
Off-center subjects create more visual pull than centered ones.
This draws viewers’ eyes naturally through the shot. Breaking the rule occasionally produces interesting effects, but it’s worth learning the rule first.
Shoot During Golden Hour for Warm, Directional Light
Golden hour occurs shortly after sunrise and before sunset. During this 30-60 minute window, the light is soft, warm, and low, which emphasizes texture and creates long shadows.
Arrive early so you can compose shots before the light shifts. It changes faster than most people expect.
Most photographers assume they can arrive at golden hour and just shoot.
You can’t. The window closes in minutes.
If you have a tripod, a slightly longer exposure during golden hour captures subtle color in the sky. An aperture of f/8 or f/11 balances depth of field with enough light in most conditions.
Use f/8 or f/11 during golden hour to balance depth of field with enough light in most conditions.
What you’ll notice:
– Rich, warm tones that bring out natural colors
– Dramatic shadows that add dimension
– Reduced harsh glare compared to midday
The difference golden hour makes is bigger than most camera settings will ever be.
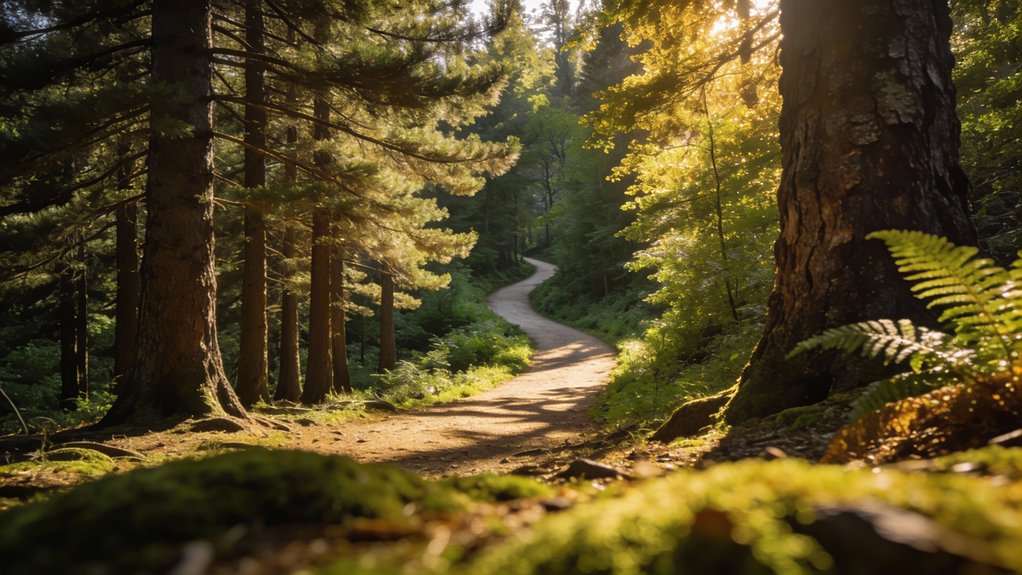
Use Leading Lines to Guide Viewers Through Landscapes
Rivers, trails, and fences work well as leading lines, pulling the viewer’s eye deeper into the frame. Position these elements to guide attention toward your main subject.
Experiment with different angles to find which lines engage viewers most. Aligning a leading line with a rule-of-thirds intersection point adds additional pull.
Leading lines turn a flat scene into one with depth and movement.
The technique creates that sense of distance even when you’re shooting from a single spot.
Steady Your Shots Without a Tripod
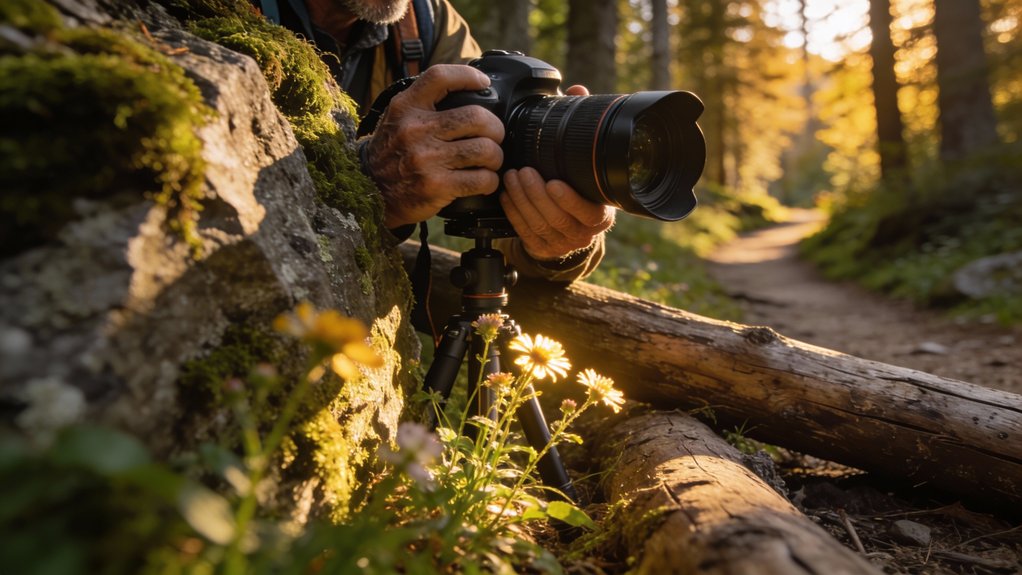
Tripods aren’t always practical when you’re hiking through forests or across rocky ground.
Keep your arms tight against your body to create a stable base. Plant your feet firmly with knees slightly bent to absorb movement.
Use natural stabilizers when you can:
- Lean against tree trunks for solid support
- Rest your camera on rocks or logs
- Brace against sturdy branches
- Get low to the ground for maximum stability
Lower your shutter speed to match your lowest ISO setting. A lens hood on sunny days reduces glare and helps with contrast.
You don’t need a tripod for most trail shots. You need a stable body position.
Capture Wildlife as Part of Your Landscape Scene
Once handheld stability feels comfortable, try including animals in their natural settings in your landscape frame.
A telephoto lens lets you keep your distance while filling the frame. Understanding wildlife behavior and habitat helps you predict where animals will appear.
Most people assume a longer lens is what gets you closer to wildlife.
It isn’t. Stillness does.
Stillness gets you closer than any telephoto lens will.
Stay patient and quiet. Your stillness is the single biggest factor in getting close enough for a good shot.
Shoot during golden hour here too. The soft light flatters both the landscape and the subject.
Use natural frames or leading lines to guide the eye. This approach respects the animal while producing a more interesting composition than a simple zoom-and-shoot.
Edit for Contrast and Clarity Using Free Tools
Expensive editing software isn’t necessary. Free tools like GIMP and RawTherapee offer strong alternatives for enhancing your nature photos.
Here’s what you can do with free editing tools:
- Emphasize light and dark areas to make landscapes look more dimensional
- Reveal texture and detail in ridges and forest canopies
- Use histogram displays to analyze exposure objectively
- Work through free online tutorials built for each tool
Good editing is mostly about contrast and clarity, and both are free to apply.
Develop a Practice Habit Across Different Seasons
Commit to hiking with your camera at least once per season. Each season teaches you something different about light and composition.
Spring mornings offer soft light for delicate blooms. Summer reveals lush greenery and active wildlife. Fall delivers vibrant foliage. Winter provides dramatic shadows and stark landscapes.
Review your seasonal photos regularly to track your progress. You’ll spot improvement patterns and see where gaps are.
A year of seasonal outings teaches more than any photography course.
Regular outdoor hiking also provides mental health improvements that keep the habit going, which matters as much as any technique.