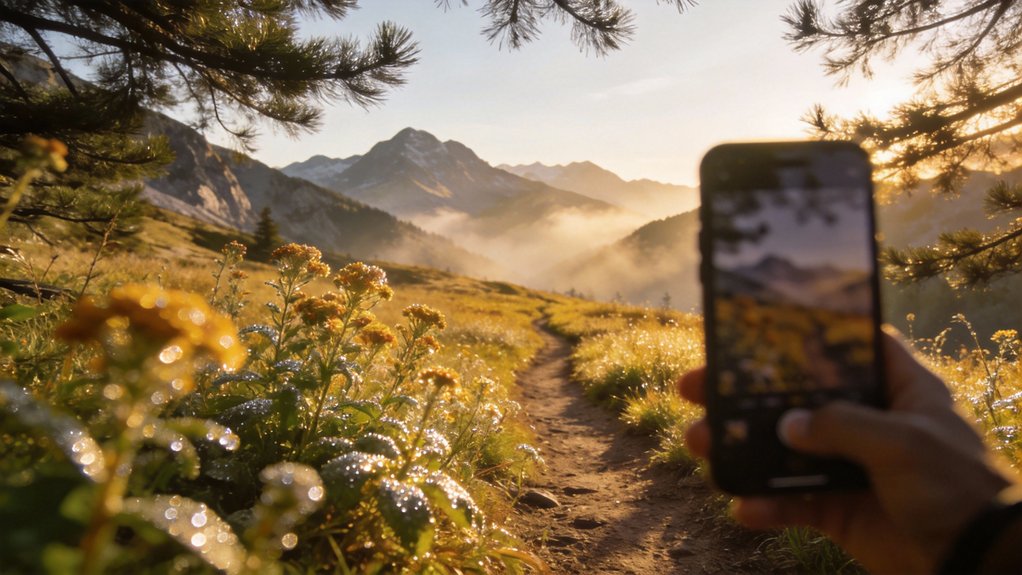
You don’t need expensive gear to start capturing nature on hikes. A decent smartphone works fine for landscapes, and you’ll improve faster by practicing regularly than by waiting for perfect equipment.
The real skill comes from understanding light, composition, and timing, especially during golden hour when everything looks better.
But there’s a technique that separates amateur shots from compelling ones.
Start With a Smartphone Camera for Landscape Hikes
You’ve probably got a high-quality camera sitting in your pocket right now. Your smartphone delivers stunning landscape photos without expensive gear holding you back.
Explore your camera settings, discover HDR mode and exposure adjustments to sharpen your images immediately.
Master composition basics like the rule of thirds and leading lines for visually compelling shots.
Shoot during golden hour, shortly after sunrise or before sunset, when light transforms ordinary scenes into something special.
Download smartphone apps for post-capture editing. Adjust brightness, contrast, and saturation to polish your work.
You’re already equipped to capture remarkable nature photography.
Scout Your Location and Plan Compositions Early
Before you hit the trail, do your homework on the location you’re planning to photograph. Use Google Earth and hiking blogs to scout potential spots.
You’ll want to identify key features and visualize composition techniques before arriving.
Check lighting conditions at different times of day. This location scouting helps you determine when golden hour hits and where shadows fall.
Scout lighting conditions beforehand to identify golden hour timing and shadow placement at your photography location.
Create a shot list mapping out specific angles and foreground elements. Arrive early to set up properly.
You’ll maximize your time and capture stronger images when you’ve already planned your shots.
Pack Lightweight Gear to Stay Mobile on Trails
When you’re hiking miles to reach the perfect shot, every pound in your backpack matters. Choose a mirrorless camera or compact bridge camera to reduce strain.
Look for a backpack with dedicated camera inserts that protect your gear while keeping everything accessible. Pack only essential lenses: a 24-70mm zoom and 14-24mm wide-angle lens give you versatility without excess weight.
Bring 3-4 spare batteries and a couple large-capacity SD cards instead of heavy backup equipment.
Skip the tripod. Use natural stabilizers like rocks or tree branches for shot stability.
- Shoot farther with less gear weighing you down
- Explore remote trails without exhaustion limiting your creativity
- Capture spontaneous moments by moving quickly and freely
- Enjoy hiking as much as photography itself
Master the Rule of Thirds in Your Framing
Most cameras have a grid overlay feature that divides your frame into nine equal sections. You’ll find this setting in your phone’s camera app or DSLR menu.
This composition technique positions key elements along the grid lines or intersections rather than dead center. Place your horizon on the top or bottom line, not the middle.
This creates visual balance and draws viewers’ eyes naturally through your shot. You’re free to experiment; try placing a tree or mountain at an intersection point.
Breaking this rule occasionally produces creative effects, but mastering it first gives you solid foundational skills for stronger landscape photography.
Shoot During Golden Hour for Warm, Directional Light
Ever noticed how sunlight transforms landscapes at certain times of day? Golden hour occurs shortly after sunrise and before sunset, delivering soft, warm light that elevates your nature photography.
This magical 30-60 minute window provides directional light that emphasizes textures and creates striking shadows. You’ll want to arrive early to compose shots before light shifts rapidly.
A tripod stabilizes your camera for longer exposures, capturing subtle color changes. Use f/8 or f/11 apertures to balance depth of field with sufficient light.
Mastering these golden hour techniques and understanding light color theory reveals breathtaking landscape images.
Key benefits you’ll experience:
- Rich, warm tones that enhance natural colors
- Dramatic shadows adding dimension and depth
- Reduced harsh glare for comfortable shooting
- Freedom to capture dynamic, dimensional compositions
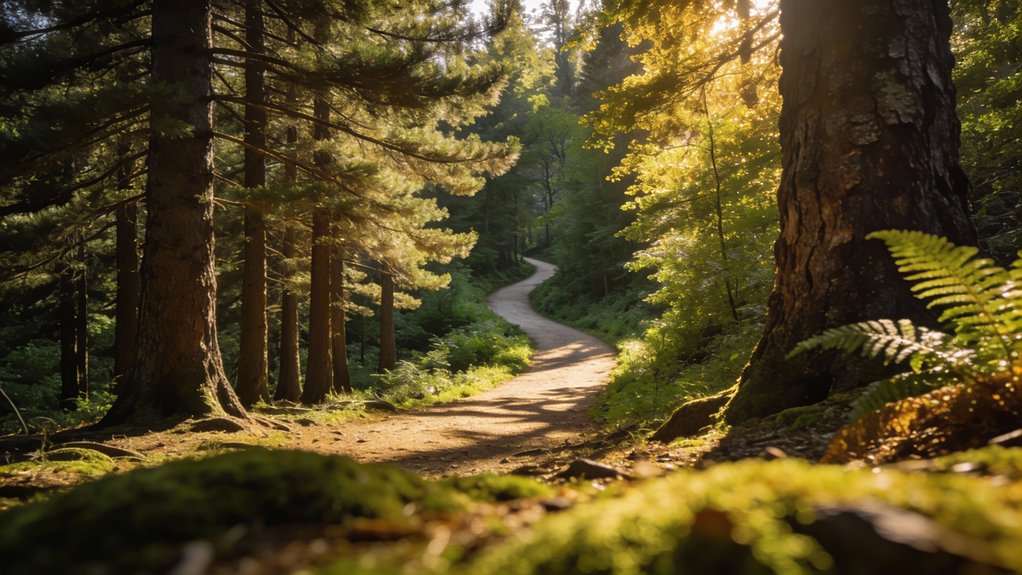
Use Leading Lines to Guide Viewers Through Landscapes
Your landscape photographs gain immediate power when you position natural features to pull viewers’ eyes deeper into the frame. Rivers, trails, and fences work brilliantly as leading lines in visual storytelling.
Position these elements to guide attention toward your main subject, creating depth and perspective that transforms ordinary shots into compelling images. Experiment with different angles to discover which lines engage viewers most effectively.
Align leading lines with rule-of-thirds intersection points for added visual interest. This technique generates movement and flow, making your compositions dynamic and engaging while keeping viewers’ attention exactly where you want it.
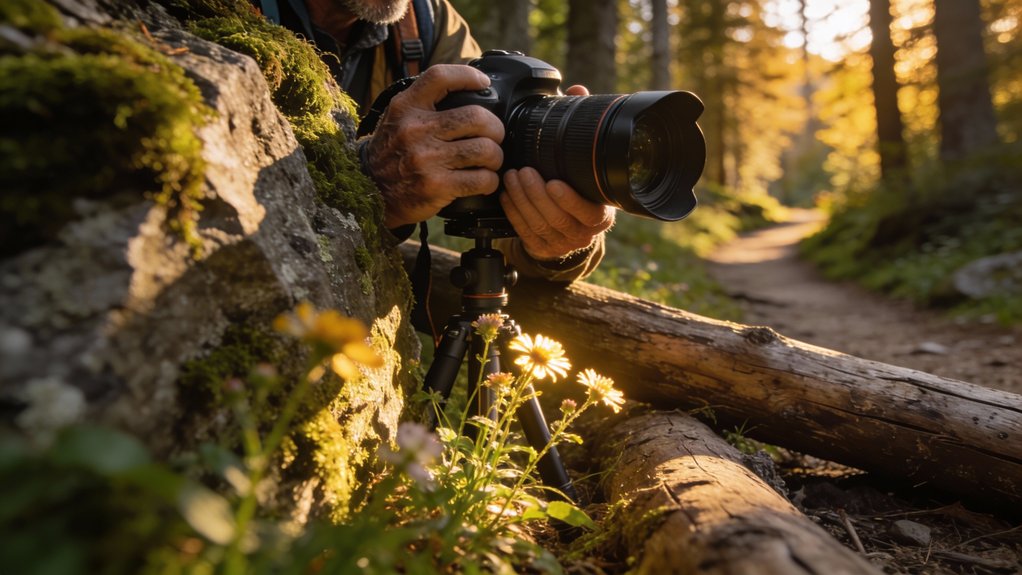
Steady Your Shots Without a Tripod
Steady Your Shots Without a Tripod
Tripods aren’t always practical when you’re hiking through forests or scrambling across rocky terrain. You can master camera stability techniques without one.
Keep your arms tight against your body to create a stable shooting position. Plant your feet firmly with knees slightly bent to absorb movement.
Keep arms tight against your body and plant feet firmly with knees slightly bent to create stability while shooting handheld.
Use natural stabilizers strategically:
- Lean against tree trunks for solid support
- Rest your camera on rocks or logs
- Brace yourself against sturdy branches
- Position your body low to the ground for maximum stability
Lower your shutter speed to match your lowest ISO setting. Add a lens hood on sunny days to reduce glare.
These handheld shooting tips give you freedom to explore while capturing sharp, clear images.
Capture Wildlife as Part of Your Landscape Scene
Once you’ve mastered handheld stability, you can focus on something more rewarding: animals in their natural settings.
Lens selection matters here; grab a telephoto lens to maintain distance while filling your frame with wildlife.
Understanding wildlife behavior and habitat helps you predict where animals’ll appear. Stay patient and quiet; your stillness increases shot opportunities.
Hunt during golden hour, that magical window after sunrise or before sunset. The softer, warmer light transforms both landscape and subject.
Use natural frames or leading lines to guide viewers’ eyes through your composition. This approach respects animals while creating compelling images that showcase their world authentically.
Edit for Contrast and Clarity Using Free Tools
Because expensive editing software can drain your budget, free tools like GIMP and RawTherapee offer powerful alternatives for enhancing your nature photos.
You’ll gain creative control without subscription fees holding you back.
Contrast techniques and clarity adjustments transform your hiking photos into compelling images.
Contrast techniques and clarity adjustments transform ordinary hiking photos into visually compelling and dynamic images.
Here’s what you can accomplish:
- Emphasize light and dark areas, making landscapes pop with dynamic energy
- Reveal hidden texture and detail in mountain ridges and forest canopies
- Use histogram displays to analyze your shots objectively
- Learn through free online tutorials tailored to your chosen software
These adjustments help you capture nature’s intricate features effectively.
Develop a Practice Habit Across Different Seasons
What’s the best way to grow as a nature photographer? Commit to hiking at least once per season. This habit captures seasonal changes and keeps your portfolio fresh.
Spring mornings offer soft light for delicate blooms. Summer reveals lush greenery and wildlife behavior. Fall delivers vibrant foliage. Winter provides dramatic shadows and stark landscapes.
Each season teaches you something different about light and composition. Review your seasonal photos regularly to track photography progress.
You’ll spot improvement patterns and identify weak areas. This practice builds confidence and motivation. Regular outdoor hiking activities provide mental health improvements that enhance your creative focus and sustained engagement with nature photography.