Most hikers don’t realize their footwear choice directly impacts trail injuries more than terrain difficulty does. You’ve probably grabbed whatever shoes felt comfortable, but the right pair involves understanding boot types, support levels, and fit timing.
Your evening shoe size is actually larger than morning size, a detail that changes everything about finding proper hiking footwear. Here’s what actually matters when you’re selecting your next pair.
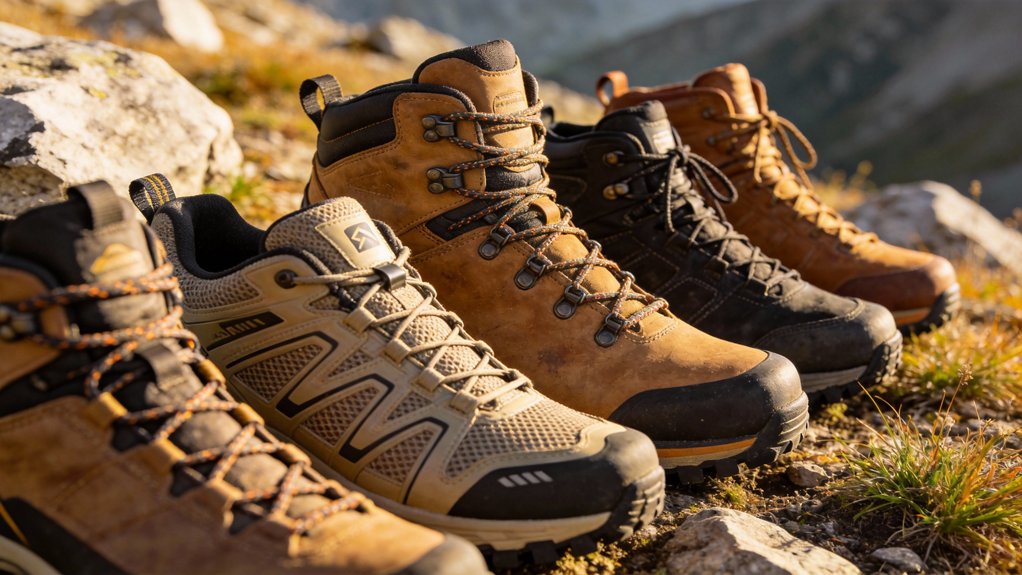
Boots vs. Shoes vs. Trail Runners: Which Type Suits Your Hikes?
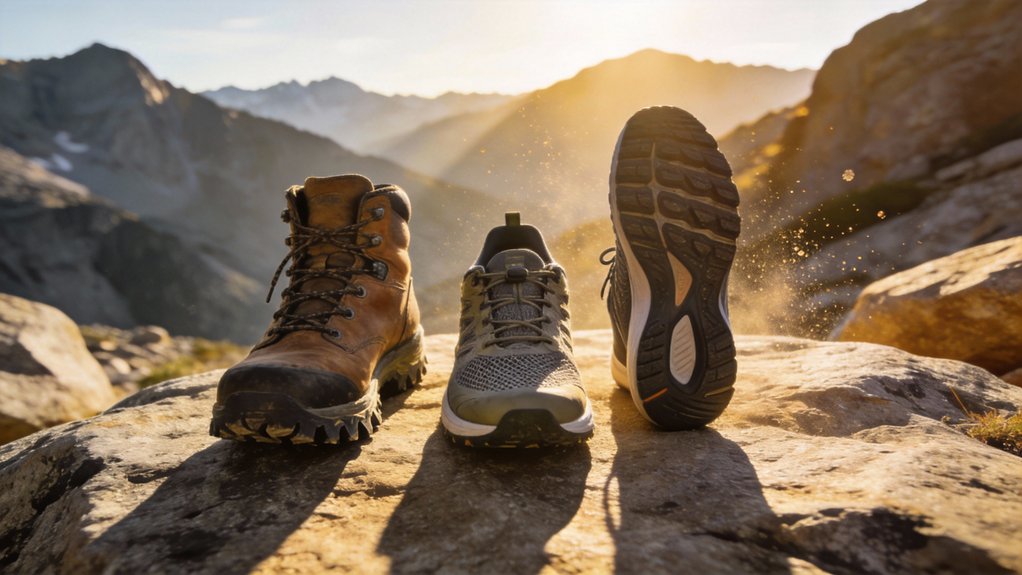
How do you know which footwear will actually work for your next hike? Your choice depends on hiking terrain considerations and footwear weight impact.
Hiking boots weigh 2.5 to 3 pounds and cost $125 to $400, offering maximum ankle support for rugged terrain.
Hiking boots deliver maximum ankle support for rugged terrain, weighing 2.5 to 3 pounds and ranging from $125 to $400.
Hiking shoes split the difference, 25 to 32 ounces, lasting 800 to 1,000 miles with solid support.
Trail runners weigh under a pound, providing breathability and comfort for three-season hiking, though they’re less stable.
Match your gear to your terrain.
Heavy boots suit rocky mountains. Light shoes work well for moderate trails. Trail runners excel on smoother paths where you don’t need serious stability.
Ankle Support and Stability: When and Why It Matters
When you’re hiking on uneven ground with a heavy pack, your ankles face real stress. You need to understand why support matters and when to prioritize it.
- High-cut boots provide maximum ankle support for rocky trails and heavy loads, reducing sprain risk considerably.
- A stiff shank and heel brake enhance stability on uneven surfaces, preventing dangerous slips during descents.
- Hikers with ankle injuries or weak ankles should choose footwear with extra support features for protection.
Older adults should be particularly attentive to ankle sprain prevention techniques, as age-related changes can increase vulnerability to injuries on challenging terrain.
Low-cut shoes offer more freedom and agility on lighter hikes but sacrifice stability.
Choose your footwear based on terrain difficulty and pack weight. Your ankles will thank you.
Waterproofing Your Hiking Footwear: When You Need It
Your feet staying dry on the trail depends entirely on the conditions you’re hiking in and what you’re willing to trade off.
Waterproof materials with Gore-Tex membranes excel in mud and snow, keeping moisture out initially. However, they trap heat and sweat, reducing breathability.
Non-waterproof shoes dry faster and breathe better for summer hikes. For moisture management, consider your climate: wet winters demand waterproofing, warm seasons favor ventilation.
You can reapply aftermarket waterproofing treatments to extend shoe life.
Ultimately, match your footwear choice to your specific terrain and comfort needs.
Finding the Right Fit for Your Hiking Shoes
Finding the right fit makes all the difference between a great hike and a miserable one.
Your foot anatomy changes throughout the day, so you’ll want to shop toward evening when your feet are naturally swollen. This timing guarantees you’re working with sizing charts that match your actual hiking conditions.
- Size up by a half to full size to accommodate swelling and prevent toe bang on downhill sections.
- Walk downslope while trying shoes on to verify adequate toe box room and check for impact.
- Inspect the collar and tongue padding for comfort, then test shoes for several hours before committing to longer hikes.
Break-In Expectations and Speed-Up Tips
Once you’ve picked shoes that fit properly, you’ll need to break them in before tackling serious mileage.
- Plan for 20-30 miles of gradual wear to let the materials conform to your feet.
- Start with short indoor walks or casual neighborhood strolls for a couple hours daily.
- These break in techniques establish comfort adjustments without overwhelming your feet.
Next, progress to easy trails before attempting challenging terrain. Thicker, cushioned socks help during this phase.
Monitor your experience; manageable discomfort‘s normal, but persistent pain signals a poor fit.
You’re building a foundation for pain-free hiking adventures.
When Your Hiking Shoes Need Replacing
How do you know when those trusty hiking shoes have finally reached their limit? Your footwear sends clear signals when it’s ready for retirement.
- Worn tread no longer grips trails safely, compromising your stability on rocky or slick terrain.
- Compacted cushioning causes foot soreness during hikes, meaning shock absorption is gone and shoe comfort suffers.
- Visible holes or tears damage stability and support, making the shoes unreliable for protection.
Also watch for heel slipping, cramped forefeet, or consistently wet socks from failed waterproofing.
These signs mean you’ve gotten your money’s worth.
Time to invest in fresh gear that’ll keep you safe and comfortable on your next adventure.
Hiking Socks: Choosing the Right Pair for Blister Prevention
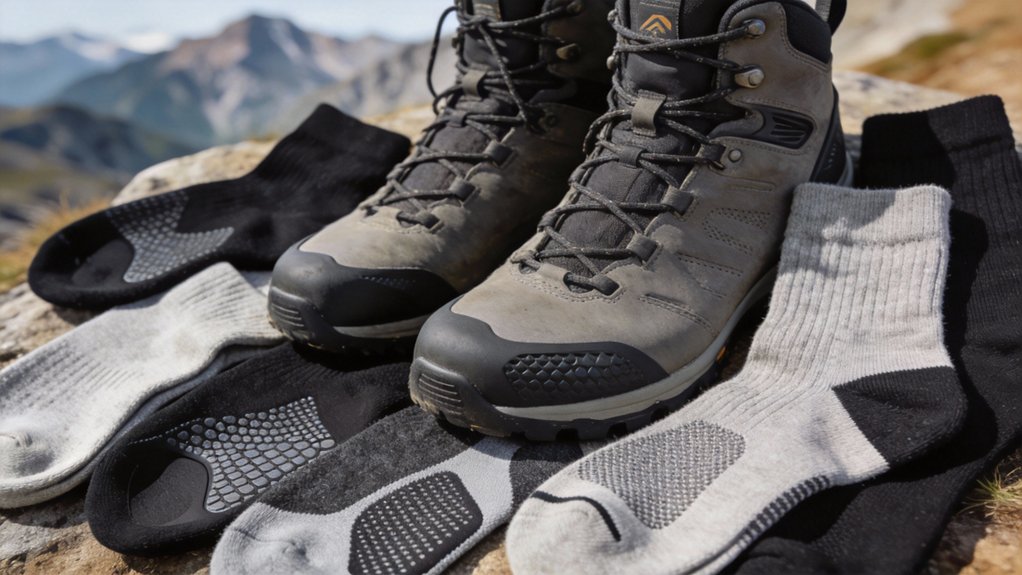
You’ve replaced your worn hiking shoes, but don’t overlook the socks: they’re just as essential for preventing blisters.
Choose socks materials like merino wool or synthetic blends that wick moisture effectively, keeping your feet dry.
Look for cushioning options in the heel and toe areas to absorb impact and reduce friction.
Your socks should fit snugly without bunching, allowing some stretch movement.
Consider thickness carefully; thicker socks offer more cushioning but might crowd your boots.
Test new socks on short walks first, ensuring comfort before tackling longer treks and avoiding painful surprises.
Caring for Your Hiking Shoes to Extend Their Lifespan
Picking the right socks gets your feet ready for the trail, but what happens after you return home matters just as much. Proper shoe cleaning and moisture management keep your hiking boots functional for years.
- Remove dirt immediately with a soft cloth and scrub brush on stubborn stains to maintain appearance and material integrity.
- Take out insoles after each hike, allowing them to dry completely at room temperature to prevent odor and deterioration.
- For leather shoes, use pH-balanced soap and conditioner while brushing mud away wet, then air dry at room temperature.
Check tread regularly. Worn treads compromise safety on trails.