Solo hiking can feel like you’re venturing into the wilderness alone, but you’re not actually defenseless. The key difference between a great hike and a dangerous one comes down to preparation.
You’ll need to assess your fitness level, plan your route carefully, and tell someone exactly where you’re going. What happens if you skip just one of these steps?
That’s what we’ll explore.
Assess Your Fitness and Experience Before Solo Hiking
Before you hit the trail solo, you need an honest assessment of your current fitness level and hiking experience.
Start with a fitness assessment by doing regular strength and endurance exercises built for hiking. This prepares your body for longer distances safely.
Next, complete an experience evaluation by testing shorter, well-marked trails first. Aim for 1-2 hour hikes initially to avoid overexertion.
Research your chosen trail’s terrain and conditions beforehand. Practice solo hikes in familiar areas to build navigation skills and self-reliance.
Gradually increase difficulty only when you’re genuinely ready. Consider following a progressive training approach to build your stamina safely over time without rushing. This methodical approach gives you freedom to explore confidently.
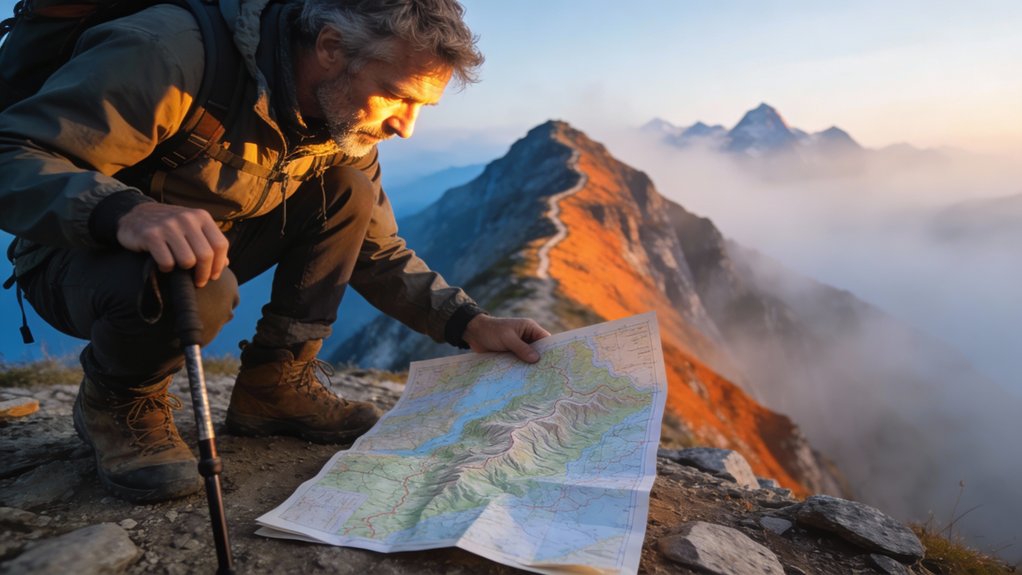
Plan Your Route and Check Weather Forecasts
Detailed planning separates confident solo hikers from unprepared ones.
You’ll need serious route optimization before stepping onto the trail.
Here’s what you should do:
- Use onX Backcountry or similar mapping tools to mark water sources and campsites.
- Check weather forecasts specific to your hiking area, not just nearby towns.
- Document elevation changes and terrain types on your detailed map.
- Mark exit points and waypoints as backup escape routes.
Weather preparedness means understanding conditions can shift fast.
Weather shifts fast in the backcountry. Preparedness means staying alert to changing conditions before they become dangerous.
Update your route based on recent trail reports.
Mark your GPS with critical waypoints.
Pack safety items and snacks in your daypack to handle unexpected situations on the trail.
This groundwork gives you freedom to hike confidently without surprises derailing your adventure.
Always Tell Someone Your Itinerary and Return Time
While you’re planning your route and checking weather, there’s one critical step you can’t skip: telling someone exactly where you’re going and when you’ll be back.
This isn’t about losing your independence, it’s about making smart choices.
Give a trusted friend your itinerary importance by sharing specific trailhead details and planned stops.
Set your return time clearly, then establish check-in points throughout your hike.
Your contact should know local emergency numbers and when to alert authorities.
This simple step creates a safety net without limiting your freedom to explore.
Carry Reliable Communication Devices for Remote Areas
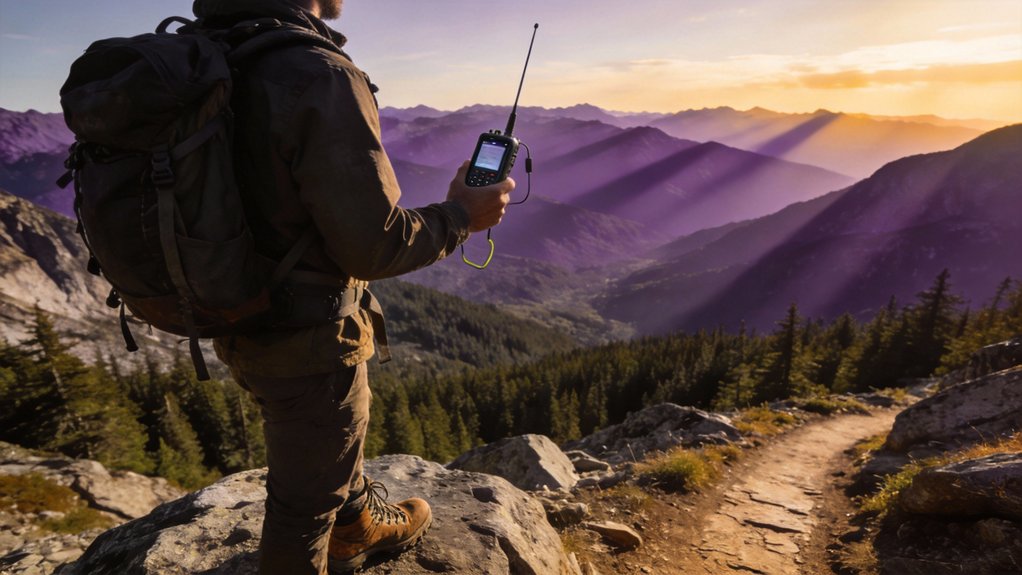
Your phone probably won’t work once you’re deep in the wilderness, so you’ll need backup communication tools that actually function out there.
Consider these essential devices:
- Satellite messengers like Garmin inReach Mini enable text messaging and location tracking anywhere.
- Personal Locator Beacons (PLBs) provide emergency SOS capabilities when you need immediate help.
- Dedicated hiking communicators offer reliable connectivity independent of cell towers.
- Power banks extend battery life on extended trips.
Familiarize yourself with your device’s features before departing.
You’ll want confident operation if an emergency strikes.
Charge everything fully beforehand: dead batteries don’t help anyone.
Pack Safety Gear to Prevent Wildlife Encounters and Emergencies
Once you’re miles from civilization, the gear in your pack becomes your lifeline.
Bear spray usage is non-negotiable in wildlife country, carry it accessible on your hip belt, not buried deep. A whistle provides emergency signaling when you need help; three sharp blasts signal distress universally.
Bear spray on your hip belt saves lives in wildlife country. Three whistle blasts signal distress universally when help is needed.
Pack a first aid kit with bandages, antiseptic, and wrap for sprains.
Navigation tools like a map and compass keep you oriented. A personal locator beacon reaches rescuers where cell service fails.
These items aren’t optional luxuries. They’re practical insurance that lets you explore freely while staying protected.
Start on Short, Familiar Trails to Build Confidence
Before you tackle that challenging 10-mile summit trail, spend time building your confidence on shorter, local routes. Smart trail selection makes all the difference when you’re starting solo.
Here’s how to approach your confidence building:
- Choose trails you can finish in 1-2 hours
- Pick routes within a few miles of home
- Select paths you’ve walked before or researched thoroughly
- Gradually increase difficulty as you gain experience
You’ll recognize landmarks better on familiar terrain, reducing getting-lost risks. Quick returns keep help accessible if problems arise.
Building stamina progressively makes future hikes feel manageable and less intimidating. You’ve got the freedom to explore safely.
Distinguish Real Danger From Fear: When to Retreat
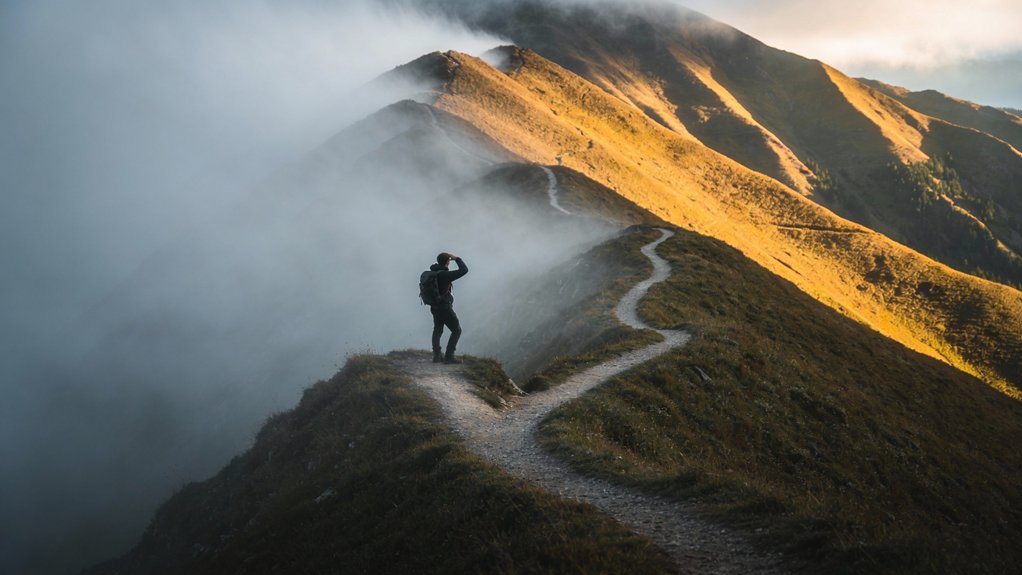
As you spend more time on trails alone, you’ll notice that fear and actual danger aren’t the same thing. Your instinct evaluation matters here: nervous feelings don’t mean you’re in real trouble.
Before panicking, do a calm fear assessment. Check the weather. Examine trail conditions. Listen for unfamiliar sounds.
Trust your gut if something feels genuinely wrong, but don’t confuse unease with threat. When you encounter wildlife, retreat quietly and keep distance.
Pick a reassessment point halfway through your hike. If conditions worsen or discomfort grows, turning back is smart, not weak.
You control your freedom by making informed decisions.